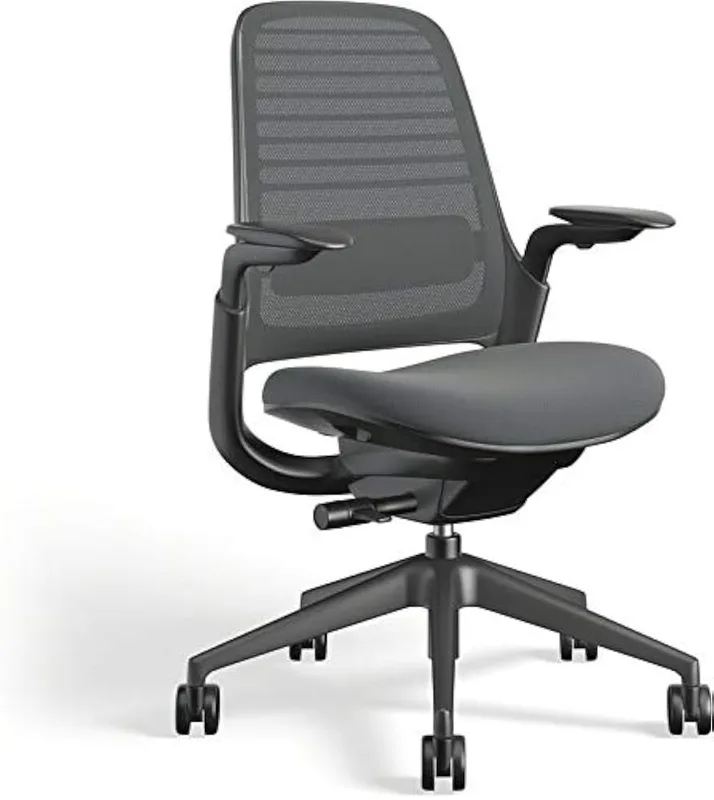
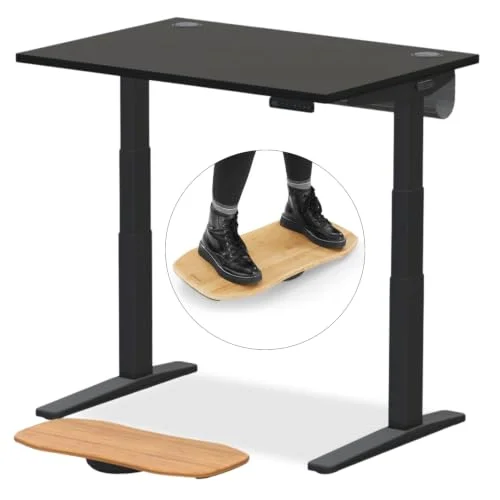
At CES 2026, ProtoArc unveiled a smart workspace concept — a chair that automatically adjusts based on how you’re sitting. It made headlines. But if you talk to a physical therapist who works with gamers, they’ll tell you the same thing: most gaming injuries don’t come from bad chairs. They come from not knowing how to sit in the chair you already have.
Research consistently shows that the majority of regular gamers experience some form of musculoskeletal discomfort — neck stiffness, lower back pain, shoulder tension, or wrist issues. Spending more than three hours per day gaming is a recognized risk factor. And the problem compounds fast when your monitor is in the wrong spot, your chair isn’t adjusted properly, or you’re gaming through the pain instead of fixing the root cause.
This guide covers everything: chair setup, monitor positioning, desk height, lighting, and a break schedule that actually works. Most of the fixes are free — adjustment, not shopping. Where gear genuinely solves a problem books and towels can’t, we link to the specific pick. But even the best chair in the world won’t help if you’re sitting in it wrong.
Why Gaming Posture Is Harder to Maintain Than Office Posture
Office workers move between tasks — meetings, phone calls, coffee runs. Gamers often sit in the same position for 4-6 hours straight without thinking about it. That sustained, static posture is where the damage happens.
Gaming also pulls you forward. An intense ranked match, a boss fight, a clutch play — your body instinctively moves toward the screen. That forward head posture adds roughly 10 lbs of effective force on your cervical spine for every inch your head moves forward from neutral. Do that for hours, and the neck and shoulder pain is predictable.
Controllers and mice add another layer. Repetitive fine motor movements with your hands and wrists, sustained over long sessions, lead to inflammation in the tendons and forearm muscles. This is why wrist and thumb problems are almost as common as back pain among high-volume gamers.
The good news: the fixes are mostly free and immediate. You don’t need a $1,500 chair. You need the right setup.
Step 1: Get Your Chair Height Right
This is the single most impactful adjustment you can make. Everything downstream — monitor height, desk height, keyboard angle — depends on getting your chair at the correct height first.
The rule: Your feet should be flat on the floor, your knees at roughly a 90–100° angle, and your thighs parallel to (or very slightly angled down toward) the floor.
If your feet are dangling, your chair is too high. If your knees are above your hips, it’s too low. Both positions shift load onto your lower back and cut off circulation to your legs. If raising the chair to the right height leaves your feet hanging, don’t compromise on chair height to reach the floor — add a footrest instead. The
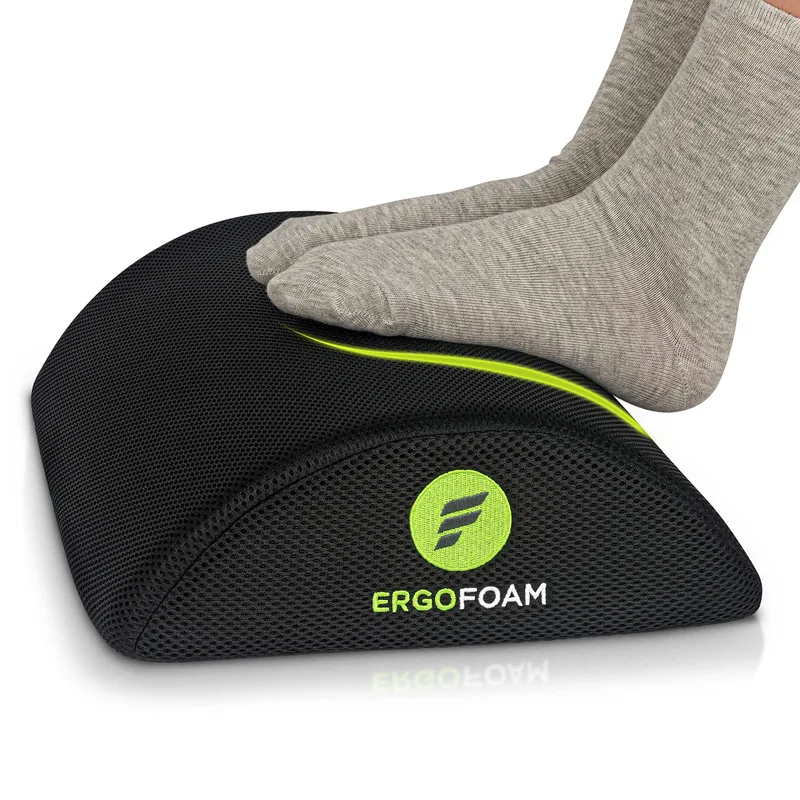
ErgoFoam 2-in-1 Adjustable Footrest
Pros
- ✓ Fixes dangling feet without re-buying your whole chair
- ✓ Two height positions cover most under-desk gaps
- ✓ High-density foam holds its shape after months of daily use
- ✓ Compact enough to fit under any gaming desk
Cons
- ✗ Only two height positions, no infinite adjustment
- ✗ Foam compresses slightly after 12+ months
- ✗ Not enough lift if your chair sits dramatically too high
Armrests: Set them so your elbows rest at roughly 90° when your hands are on the keyboard or mouse. Armrests that are too high force your shoulders up; too low and you start hunching to reach them. If they get in the way, lower them or fold them out of the way entirely.
Lumbar support: Position it in the inward curve of your lower back — usually around the belt line. It should feel like gentle support, not pressure. If you have to reach for the back of your chair to feel it, you’re sitting too far forward.
If your current chair simply doesn’t adjust enough to hit these positions, that’s a sign it’s time to replace it, not just readjust it. The
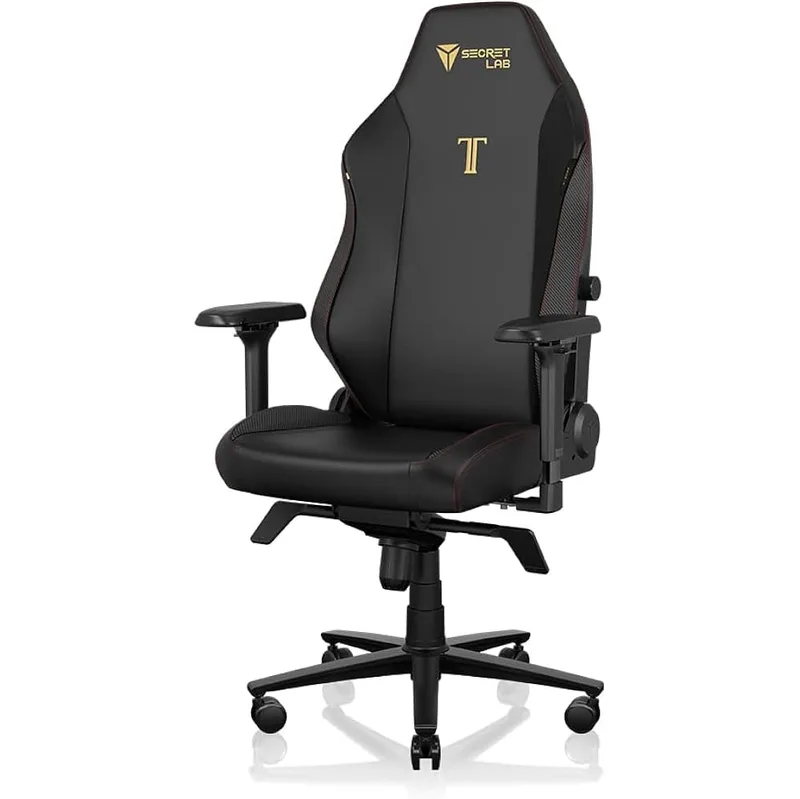
Secretlab Titan Evo
Pros
- ✓ 4-way adjustable lumbar dials in support for nearly any body type
- ✓ Cold-cure foam holds its shape for years instead of collapsing
- ✓ 4D armrests adjust to a true 90° elbow angle at any desk height
- ✓ 290 lb capacity on the regular size, up to 395 lbs on XL
Cons
- ✗ $729 list price — watch for sales that bring it to $519–$599
- ✗ No lumbar height adjustment, only depth and firmness
- ✗ Leatherette runs warm; SoftWeave fabric costs extra
Step 2: Position Your Monitor Correctly
Most gaming monitors are too low. The default position — monitor sitting directly on the desk — puts the screen below eye level, which encourages you to drop your chin and round your upper back. Over hours, that forward flexion taxes the muscles along your neck and mid-back.
Height: The top of your monitor should be at or just below eye level when you’re sitting upright. If you wear glasses, position it slightly lower to avoid tilting your head back to see through bifocals.
Distance: Arm’s length is the classic guidance — roughly 20-30 inches from your eyes to the screen. For large monitors (32”+), you may need to push back further. If you’re leaning in to read the screen clearly, either the font size is too small or the monitor needs to come closer.
Tilt: A slight backward tilt (5-10°) is more comfortable than a perfectly vertical monitor. It reduces the reflection from overhead lighting and keeps the whole screen within your natural field of view.
Multi-monitor setups: If you have two primary monitors, center them both in front of you and angle them in a slight V. Don’t put one monitor at a sharp angle — you’ll be rotating your neck hundreds of times per session. For a primary + secondary setup, put the secondary at a comfortable angle but expect to rotate to use it, not stare at it for hours.
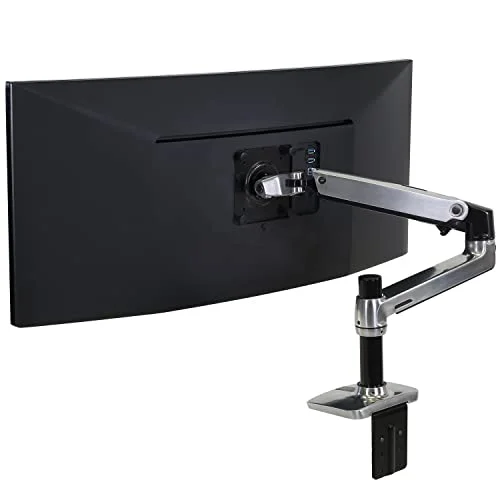
A monitor riser or a stack of books can get a too-low screen to eye level for free. But if your desk is too tall for your chair, or you need real height plus depth adjustment to hit both eye level and proper viewing distance, a fixed riser can’t do that — you need a monitor arm. The
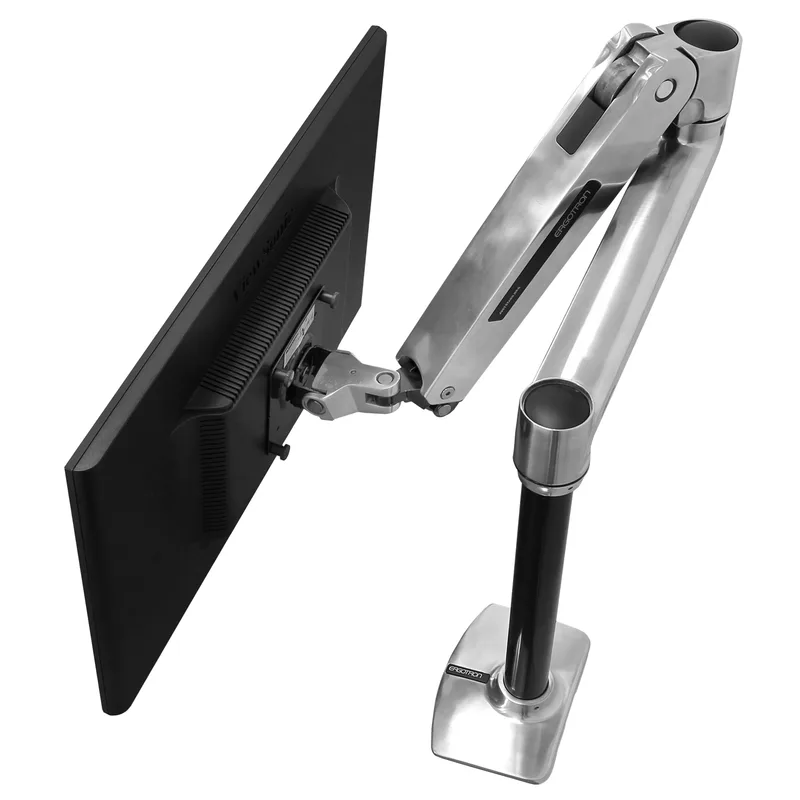
Ergotron LX Single Monitor Arm
Pros
- ✓ Full height, depth, tilt, and rotation adjustment in one motion
- ✓ Gas spring holds any position with zero drift or droop
- ✓ Gets the top of the screen to eye level regardless of desk height
- ✓ 10-year warranty backs up genuinely durable construction
Cons
- ✗ $209 is a real jump over a $10 stack of books
- ✗ 25 lb capacity won't hold larger ultrawide panels
- ✗ Needs desk clamp or grommet clearance to mount
Step 3: Set Your Desk and Keyboard Position
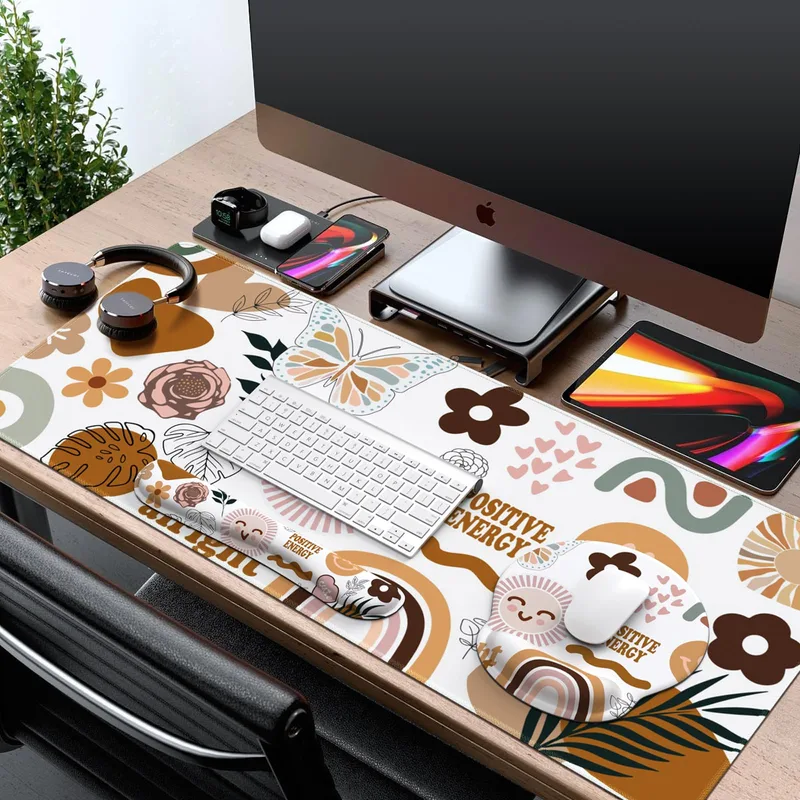
Once your chair is at the right height, adjust your desk (if you have a height-adjustable desk) to match. The goal: your elbows should be at roughly 90° when your hands are resting on the keyboard, with your wrists in a neutral, flat position — not bent up or down.
If your desk is fixed and too high, try raising your chair and adding a footrest so your feet aren’t dangling. If the desk is too low, a monitor arm and keyboard tray can help bridge the gap.
Keyboard placement: Keep it close. Your elbows should stay roughly at your sides, not stretched forward. Reaching for a keyboard that’s too far away rounds the shoulders and compresses the chest.
Mouse placement: Keep the mouse at the same height as the keyboard and as close to your body as possible. A wide desk pad that lets you move freely without repositioning is worth the investment. Gaming mice with an ergonomic shape (rather than ambidextrous symmetrical designs) reduce the pronation strain during long sessions.
Wrist position: Flat, neutral. Don’t rest your wrists on the desk while actively moving the mouse — that’s what wrist rests are for during pauses. During active mouse movement, your wrist should float. Between plays, a dedicated rest matters more than it sounds — the
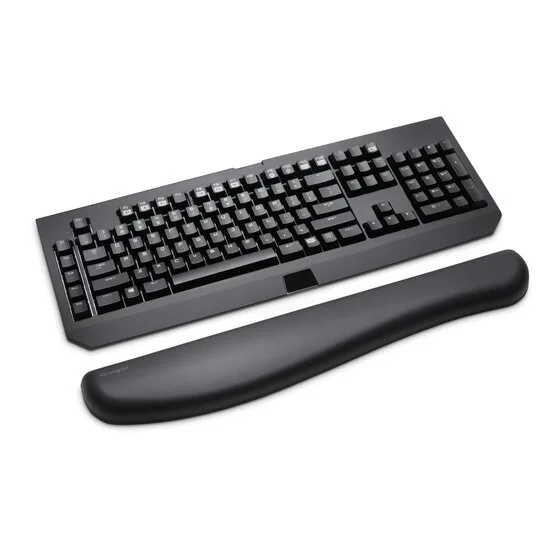
Kensington ErgoSoft Wrist Rest for Mechanical & Gaming Keyboards
Pros
- ✓ Taller profile clears mechanical keyboard keycaps without wrist strain
- ✓ Gel cushioning spreads pressure more evenly than flat foam pads
- ✓ Ergonomist-designed contour keeps wrists in a neutral position during pauses
- ✓ Vegan leather finish looks less gamer-y if your setup doubles as a desk
Cons
- ✗ Vegan leather can get tacky in warm rooms
- ✗ Taller height doesn't suit low-profile keyboards
- ✗ Meant for rest between actions, not while actively typing or aiming
Looking for a capable gaming desk? See our best gaming desks in 2026 roundup.
Step 4: Fix Your Lighting
Eye strain compounds postural problems. When your eyes are tired, you lean forward to see better. That forward lean cascades down your spine.
Room lighting: The room should be bright enough that there’s no high-contrast glare between your monitor and the dark wall behind it. A completely dark room with one bright screen is a recipe for eye fatigue.
Bias lighting: A strip of LED lighting behind your monitor (pointed at the wall, not at your eyes) reduces perceived contrast and noticeably cuts eye strain during long sessions. The
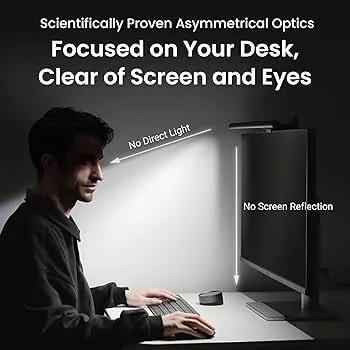
BenQ ScreenBar Halo 2
Pros
- ✓ Rear bias light kills the pupil-cycling strain of dark-room gaming
- ✓ Wireless dial is far easier mid-session than reaching for touch controls
- ✓ Fits over curved 1000R–1800R gaming monitors without blocking the view
- ✓ Motion sensor auto-dims when you step away
Cons
- ✗ $179 is a lot to spend on desk lighting
- ✗ No game-sync RGB — this is a comfort tool, not a lighting effect
- ✗ Wireless controller needs its own USB-A port
Overhead lighting: Overhead lights that shine directly onto your screen create glare. Reposition your desk so the screen faces away from windows and direct light sources, or tilt the monitor to avoid reflections.
Blue light: The science on blue-light blocking glasses is genuinely mixed — the research hasn’t confirmed that blue light specifically causes eye damage. That said, many gamers report that warm-toned screen settings (using Night Mode or a similar built-in feature) reduce the visual fatigue from long sessions, and pairs like the GUNNAR Intercept add a slight magnification that some users find reduces focusing effort. It costs nothing to try the screen settings first.
Step 5: The Break Protocol
No ergonomic setup fully compensates for continuous static posture. Your body needs movement. The question is how to build that movement into a gaming session without disrupting your flow.
The 20-20-20 rule for eyes: Every 20 minutes, look at something 20 feet away for 20 seconds. This resets your focus muscles and reduces the tension that accumulates from staring at a close screen for hours.
The posture check: Every 30 minutes, do a quick body scan. Are your shoulders up by your ears? Drop them. Is your chin jutting forward? Pull it back. Is your lower back rounded? Sit back into your lumbar support. This takes about 10 seconds and makes a meaningful difference.
The movement break: Every 60-90 minutes, get up for 5 minutes. Walk around, do a few neck rolls, stretch your hip flexors. Sitting compresses the discs in your lumbar spine — standing and moving lets them rehydrate. This isn’t optional.
Three stretches worth doing:
-
Chest opener: Stand in a doorway, arms at 90°, gently lean through. Hold 30 seconds. This counteracts the forward-rounded posture that long gaming sessions encourage.
-
Neck side stretch: Tilt your ear toward your shoulder, drop the opposite shoulder slightly, hold 20-30 seconds per side. Addresses the neck tension from forward head posture.
-
Hip flexor stretch: Step one foot forward into a lunge, lower your back knee to the floor, and push your hips forward slightly. Hold 30 seconds per side. Hip flexors shorten significantly during long sitting sessions.
The Complete Gaming Posture Checklist
Run through this before your next session:
Chair:
- Feet flat on the floor, knees at ~90°
- Lumbar support positioned in the small of your back
- Armrests at elbow height, not forcing shoulders up or down
Monitor:
- Top of screen at or just below eye level
- Distance of 20-30 inches from your face
- Slight backward tilt (5-10°)
- No direct glare from windows or overhead lights
Keyboard and Mouse:
- Elbows at ~90°, wrists neutral and flat
- Keyboard and mouse close to your body
- Large mousepad for free movement
Breaks:
- Eyes: 20-20-20 rule every 20 minutes
- Posture check every 30 minutes
- Stand and move every 60-90 minutes
FAQ
How long can I game before it hurts my back?
There’s no universal answer, but consistently gaming more than 3 hours per session without breaks is where the risk of musculoskeletal issues increases significantly. The problem isn’t any single session — it’s the daily accumulated load. Short sessions with regular movement breaks are much less damaging than marathon sessions a few times a week.
Does an expensive gaming chair actually help with posture?
A good chair helps if you know how to adjust it. The most common mistake is buying an expensive chair and never touching the height, lumbar, or armrest settings. A properly adjusted budget chair beats an improperly adjusted premium chair left on factory settings almost every time. That said, chairs with better adjustability, like the Secretlab Titan Evo above, give you more options to fine-tune your fit — which matters if you’re gaming 4+ hours per day. See our gaming chair comparison guide if you’re weighing gaming chairs against ergonomic office chairs. Or, if you’re considering adding a posture corrector to your setup, read our Posture Corrector vs Ergonomic Chair comparison for a breakdown of when each approach helps most.
Is a standing desk worth it for gaming?
For long sessions, yes — but not because standing is inherently better than sitting. The benefit is that it forces you to change positions, which breaks up the static load. You shouldn’t stand and game for 4 hours straight any more than you should sit and game for 4 hours straight. Alternating between the two is the actual goal. Our gaming desks roundup covers several height-adjustable options.
My neck always hurts after gaming. What’s the most likely cause?
In most cases, it’s monitor height. If your screen is too low, you tilt your chin down — which loads the muscles and joints at the base of your skull and upper neck. Raise your monitor so the top is at or just below eye level, and make sure you’re sitting with your back fully supported, not perching on the edge of your seat. If the pain persists despite proper setup, a physical therapist who works with screen users is worth consulting.
Can I fix gaming posture issues without buying new equipment?
Usually yes, at least partially. Most critical adjustments (chair height, monitor height, break habits) cost nothing. A stack of books can fix monitor height in a pinch. A rolled-up towel placed in the lumbar curve of an unsupportive chair adds lower back support. When a DIY fix isn’t stable enough — a wobbly book stack, a towel that keeps sliding — a purpose-built product like a monitor arm or footrest solves it permanently for $30-200. New gear is nice; the basics matter more.
What’s the best posture for gaming specifically, versus regular office work?
The fundamentals are the same: neutral spine, supported lumbar, monitor at eye level, elbows at ~90°. The main difference is intensity and duration. Gaming sessions often run longer and demand more from your focus, which makes it easier to miss the physical warning signs. Office workers tend to shift more naturally — reaching for the phone, walking to a meeting. Gamers need to be more deliberate about movement breaks because the game doesn’t naturally provide them.
Conclusion
The fundamentals of gaming ergonomics aren’t complicated. Chair at the right height, monitor at eye level, keyboard close enough that you’re not reaching, and regular breaks to move around. Most gamers skip one or more of these, and the pain shows up months or years later.
Start with the checklist above. Run through it tonight before your session. The adjustments take five minutes and the difference — especially in neck and shoulder tension — is usually noticeable within a few sessions.
Quick gear picks: feet dangling → the ErgoFoam footrest above · chair won’t adjust enough → the Secretlab Titan Evo · monitor too low or too close → the Ergotron LX arm · wrists sore after long sessions → the Kensington ErgoSoft rest · gaming in a dark room → the BenQ ScreenBar Halo 2. None of these fix bad posture on their own — they remove the physical barriers that make good posture possible.
When you’re ready to evaluate more gear, see our roundups for gaming chairs under $200, gaming chairs under $500, the six best ergonomic gaming chairs, and best gaming desks for 2026. For your display specifically, the gaming monitor ergonomics guide goes deeper on height, distance, and tilt. Good gear helps — but only if the fundamentals are in place first.