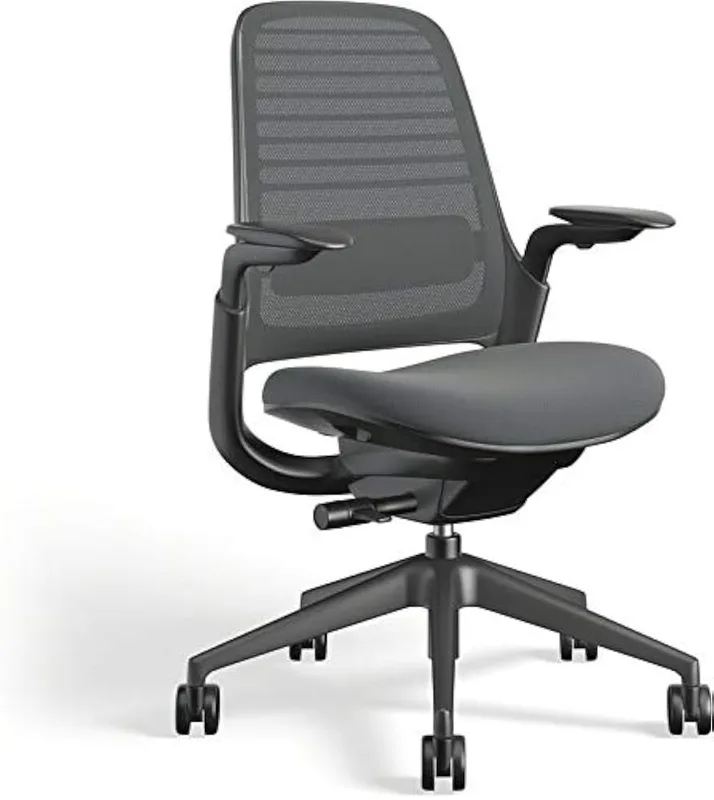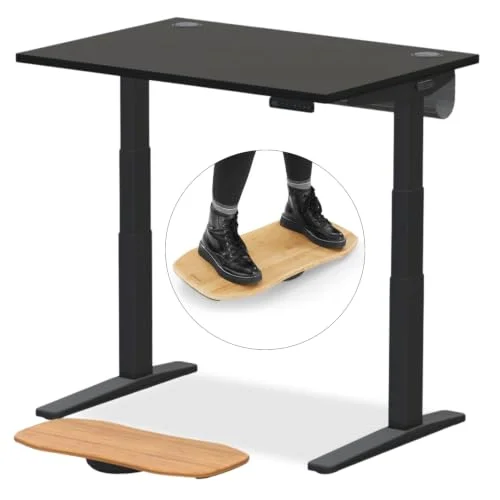
You spent good money on an ergonomic chair. Maybe $299. Maybe $899. Either way, there’s a solid chance it’s still sitting at the factory default settings — seat too high, lumbar jammed into your mid-back, armrests nowhere near your elbows. That’s the dirty secret of the ergonomic chair industry: most chairs get set up wrong and never touched again.
CES 2026 saw a wave of new smart desks and ergonomic workstations, reflecting how seriously the market now takes proper workspace setup. But the best desk in the world doesn’t fix a poorly adjusted chair. Proper adjustment costs nothing and takes about ten minutes — and it’s the single biggest upgrade you can make to your work setup right now.
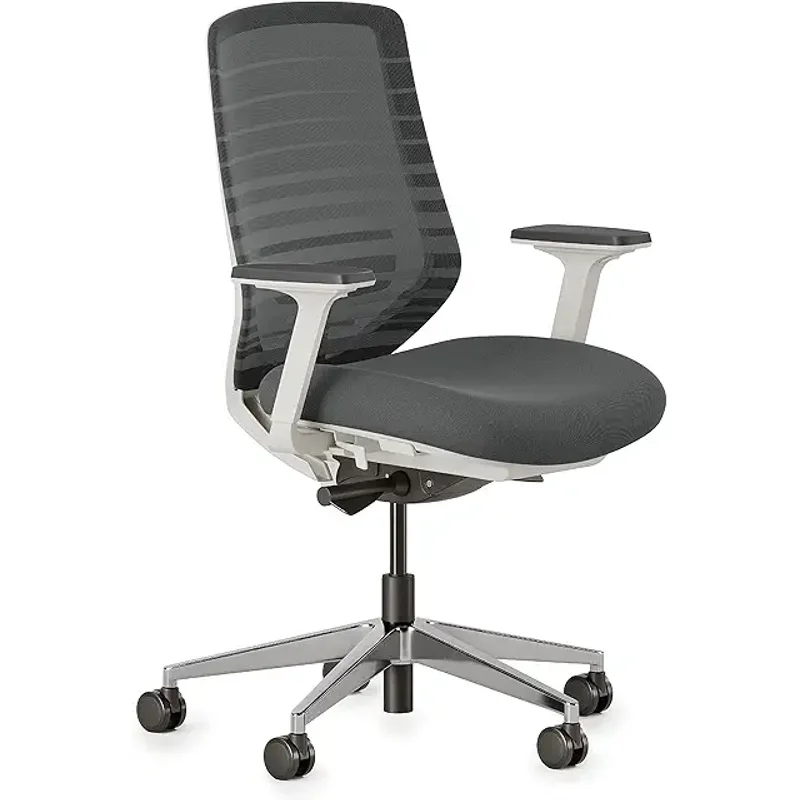
This guide walks you through every adjustment, in the right order, with specific targets so you know you’ve got it right. If you’re shopping for a new chair with all the right levers, the Branch Ergonomic Chair at $389 covers eight adjustment points and is one of the easiest to dial in.
Adjustment Quick-Reference
| Adjustment | Target Setting | Common Mistake |
|---|---|---|
| Seat Height | Feet flat, knees at 90–100° | Set too high, feet dangling |
| Seat Depth | 2–3 finger gap behind knees | Too shallow or never adjusted |
| Lumbar Position | Natural lower-back curve, at belt line | Too high (mid-back) or too low (tailbone) |
| Armrest Height | Elbows at 90°, shoulders relaxed | Raised too high, causing shoulder tension |
| Recline Tension | Slight resistance when leaning back | Too loose (you fall back) or too stiff |
| Headrest Height | Base of skull, no forward push | Pushing head forward, causing neck strain |
| Monitor Height | Top of screen at eye level | Screen too low, causing chin-drop |
Step 1: Set Seat Height First
Seat height affects everything else, so start here before touching any other adjustment.
Target: Your feet should sit flat on the floor with your knees bent at 90–100 degrees. Your thighs should be roughly parallel to the floor — or with a slight downward slope from hip to knee, which is even better for circulation.
How to do it: Stand next to your chair and adjust the seat to roughly the height of your kneecap. Then sit down and check: can you place your feet flat on the floor without pressing your thighs into the seat? If yes, you’re close. Fine-tune from there.
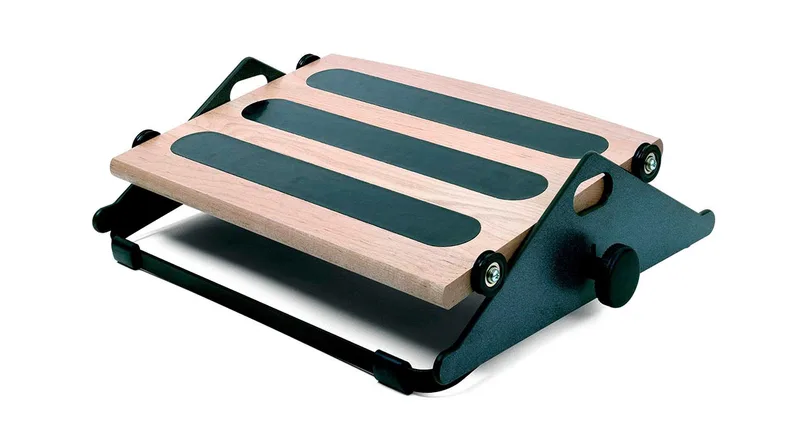
If your feet dangle: Don’t raise your chair to meet the desk and leave your feet hanging. That cuts off circulation in your thighs within 20 minutes. Instead, lower the chair until your feet are flat and add a footrest to bridge the gap to your desk height. Our roundup of the best footrests for office workers covers the best options at every price point — the Humanscale FM300 at $150 is the premium choice.
The test: Slide your fingers under your thigh near the front of the seat. You should feel slight contact, not pressure. If you feel strong pressure, the seat is too high or the desk is too low.
Step 2: Adjust Seat Depth
Seat depth is the most overlooked adjustment on ergonomic chairs — and the most important one for leg circulation.
Target: With your back resting fully against the backrest, there should be a 2–3 finger gap between the front edge of the seat and the back of your knees. That gap protects the popliteal vessels behind your knees from being compressed, which is what causes that “falling asleep” feeling in your legs.
How to do it: Sit back fully in the chair. Hold two or three fingers horizontally and slip them between the seat edge and the back of your knee. If they don’t fit, slide the seat pan backward (away from you). If there’s more than a fist-width of gap, slide it forward.
Not all chairs have seat depth adjustment. Many budget chairs have a fixed pan that doesn’t move. If yours doesn’t, this is one of the strongest reasons to upgrade to a chair that does — it’s not a luxury feature.
Step 3: Position Your Lumbar Support

Everlasting Comfort Lumbar Support Pillow
Pros
- ✓ Pure memory foam conforms to the natural S-curve of your lower back without going flat
- ✓ Adjustable elastic strap fits chair backs from 12 to 22 inches wide
- ✓ Removable, machine-washable cover keeps things clean over time
- ✓ At $29, it's the fastest and most affordable way to add lumbar support to any chair
Cons
- ✗ May feel too soft for users who need firm, aggressive lumbar pressure
- ✗ Strap can slip on smooth leather or vinyl chair backs after extended use
- ✗ Adds 3–4 inches of effective depth to the backrest, reducing usable seat depth slightly
Lumbar support keeps the natural inward curve of your lower spine (the lumbar lordosis) from collapsing when you sit. When set correctly, you should feel a gentle, continuous pressure at your lower back — not at your tailbone and not in the middle of your back.
Target: The lumbar pad or curve should hit at your “belt line” — roughly 6–10 inches above the seat pan. For most people, that’s the L4-L5 vertebrae region. If you put your hands on your hips with thumbs pointing backward, your thumbs point roughly at the right zone.
How to do it: Sit back fully and adjust the lumbar height up or down until you feel it pressing into that natural inward curve. If your chair has lumbar depth adjustment as well, push it out just enough to feel firm contact without being shoved forward out of the chair.
If your chair has no lumbar adjustment: A quality lumbar cushion does a solid job strapping onto the backrest and filling the gap. The Everlasting Comfort Lumbar Pillow costs $29 and makes a basic task chair feel significantly more supportive. Our full guide to the best lumbar support cushions covers foam vs. inflatable vs. integrated options.
Step 4: Set Armrest Height — Then Width and Depth
Armrests are one of the most misunderstood ergonomic controls. Most people raise them too high, which forces their shoulders up into a permanent shrug and loads the trapezius muscles all day.
Target: With your arms hanging naturally at your sides and your elbows bent at 90 degrees, the armrests should barely touch the underside of your elbows — supporting the weight of your arms without pushing your shoulders up even slightly.
Height: Start from the bottom. Raise the armrests slowly until they just make contact with your elbows. Stop there. If you find yourself typing with raised shoulders, the armrests are too high.
Width: If your chair has width-adjustable armrests, bring them in until they’re directly under your elbows, not flared out to the sides. Wide armrests make you reach outward when typing, stressing your rotator cuffs.
Depth and pivot (4D armrests): Some chairs allow you to slide the armrest pad forward/backward and pivot it inward at an angle. Pivot the pad slightly inward to follow the natural angle of your forearms when typing. Slide it forward if you need wrist support closer to the keyboard.
For chairs with fixed or poorly positioned armrests, aftermarket pads and clip-on extenders can help. See our guide to the best ergonomic armrests for desk workers for add-on solutions.
Step 5: Dial In Recline Tension
Most people never touch the tilt tension knob, usually located under the seat near the right side. This controls how much force it takes to lean back — and it matters more than people realize.
Target: Lean back slightly with your body weight. You should feel moderate resistance — enough that the chair supports you without you having to actively push against it. It should feel like leaning against a wall that gently pushes back. If you fall backward easily with no effort, the tension is too loose. If you can barely recline at all, it’s too tight.
How to do it: Locate the tilt tension knob (often labeled with a + and – symbol). Turn it counterclockwise to loosen (less resistance) or clockwise to tighten. Heavier people generally need more tension; lighter people need less. Adjust it until recline requires gentle, deliberate pressure.
Tilt lock: Some chairs have a separate tilt lock that holds the backrest in an upright position. Use this if you prefer to sit bolt upright while typing. Unlock it for extended reading or video calls where a slight recline reduces spinal compression.
Step 6: Adjust the Headrest
Not all chairs have one, but if yours does, the headrest needs to be positioned carefully. A poorly positioned headrest is worse than no headrest at all — it can push your head forward into a tech-neck position all day.
Target: The headrest should cradle the base of your skull when you’re sitting in your normal upright position. Your neck should feel neutral and unsupported — as if the headrest is just there if you choose to lean back, not constantly pushing you forward.
How to do it: Adjust the headrest height so the top of the pad hits the base of your skull. If the headrest pushes your chin toward your chest, it’s too high. If it’s pressing your upper neck forward, it’s too far forward on the depth adjustment.
If your chair doesn’t have a headrest: Aftermarket headrest pillows that strap onto the backrest are a mixed bag. When they work, they work well. Our roundup of the best headrest pillows for office chairs covers which ones actually stay in place and provide neutral support.
Step 7: Check Your Monitor Height to Complete the Setup
Your chair adjustment can be perfect and still cause neck pain if your monitor is too low. This step completes the ergonomic loop.
Target: The top edge of your monitor should be at or very slightly below eye level. Your gaze should drop about 15–20 degrees below horizontal to land on the center of the screen. If you’re looking straight ahead at the center of the screen, it’s too high. If you’re looking down more than 30 degrees, it’s too low.
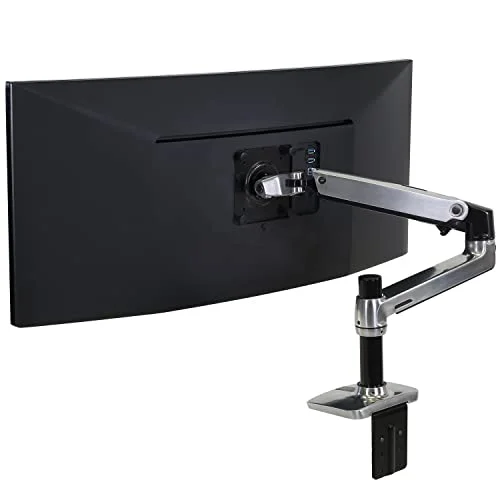
How to do it: Sit in your fully adjusted chair in your normal working posture. Look straight ahead. The top bezel of your monitor should be at roughly that height. If it’s lower, raise it — with a monitor arm, a riser, or a stack of books while you shop for a proper solution. See our guide to the best monitor arms for standing desks for adjustable arm options that make it easy to change height for sitting vs. standing.
Recommended Products to Fill the Gaps
If your chair is missing specific adjustments — no lumbar, no footrest clearance, no headrest — these three products cover the most common gaps.
Buying Guide: How Many Adjustment Points Do You Need?
Shopping for a new chair? Here’s what the numbers mean in practice:
3–4 adjustment points (seat height + basic tilt + fixed armrests): Entry-level ergonomic chairs. Fine for occasional use but you can’t dial in seat depth or lumbar position. You’ll likely need a lumbar pillow add-on from day one.
6–8 adjustment points: The sweet spot. You get seat height, seat depth, lumbar height, armrest height, tilt tension, and often armrest width/pivot. Most chairs in the mid-range land here. The Branch Ergonomic Chair at $389 is a good example — eight points covers everything in this guide.
10–14+ adjustment points: Premium territory. Adds armrest depth/pivot, seat angle tilt, dynamic lumbar, and sometimes forward-tilt for active sitting. The Branch Ergonomic Chair Pro and mid-range ergonomic chairs often have this level of control.
Herman Miller / Steelcase tier: Fully adjustable backrest posture-fit, nuanced lumbar depth, dynamic flex zones. Overkill for most users, but genuinely worth it if you sit 8–10 hours a day. Read our guide on whether expensive office chairs are worth it before committing to that spend.
Signs Your Current Chair Can’t Be Properly Adjusted
- Your feet dangle and there’s no height range that fixes it (desk is too high) — get a footrest
- Seat pan is too long and compresses the back of your knees — time for a chair with seat depth adjustment
- Lumbar feels like it’s stabbing your spine no matter the position — the lumbar design itself may not match your back shape
- Armrests are too far forward or too far back — look for 4D armrests
Browse our best ergonomic chairs under $300 roundup if you’re ready to upgrade without overspending.
FAQ
How high should my office chair seat be?
Set seat height so your feet rest flat on the floor with your knees at roughly 90 degrees. Your thighs should be parallel to the floor or sloping slightly downward toward your knees. If your desk forces you to raise the chair until your feet dangle, add a footrest rather than leaving your legs unsupported.
Where exactly should lumbar support sit?
Lumbar support should press into the inward curve of your lower back — roughly at your belt line, which for most people is the L4-L5 region. Think of the spot where your back curves inward when you stand up straight. The support should not be at your tailbone and not in the middle of your back (that’s thoracic, not lumbar).
Should armrests be raised while typing?
Armrests should be low enough that your shoulders are completely relaxed and elbows sit at roughly 90 degrees. Many people keep armrests too high, which forces constant shoulder elevation and loads the trapezius muscles. If you have to choose between typing with armrest support or relaxed shoulders, drop the armrests and choose relaxed shoulders.
How do I know if my recline tension is correct?
Sit in your working position and lean back gently with your normal body weight. You should feel moderate, smooth resistance — like leaning back against a slightly firm mattress. If you fall backward easily, tighten the tension knob. If you feel like you’re wrestling the chair to recline at all, loosen it. Heavier users typically need more tension to feel supported.
What if my chair doesn’t have all these adjustments?
A chair missing seat depth adjustment can be partially compensated with a seat cushion to change your sitting position. A chair missing lumbar support can use a lumbar pillow add-on. A chair that can’t accommodate your height range is the hardest to work around — you’ll likely need a footrest or a new chair. Our chairs for lower back pain guide covers what features to prioritize based on your specific issues.
How often should I re-check my chair settings?
Whenever your setup changes — new desk, new monitor height, new job with different tasks. For most people, a full recalibration once every six months is useful, because posture habits shift gradually and you may not notice the chair has drifted from optimal. If you start getting new aches in your neck, shoulders, or lower back after months of comfort, re-run through all seven steps before assuming something is wrong with the chair.
Conclusion
Properly adjusting your office chair is free, takes ten minutes, and often delivers more ergonomic benefit than buying a brand new chair. Start with seat height, work through seat depth and lumbar, dial in the armrests, and finish with recline tension and headrest. Then step back and check your monitor — it’s the piece most guides forget.
If you need to fill gaps that your chair can’t cover, the three products above target the most common issues: the Branch Ergonomic Chair for a fresh start with full adjustment capability, the Humanscale FM300 when your feet need grounding, and the Everlasting Comfort Lumbar Pillow when your backrest isn’t earning its keep.
A well-adjusted $389 chair beats an unadjusted $800 chair. Every time.