Disclosure: PostureRanked is reader-supported. When you buy through links on our site, we may earn an affiliate commission at no additional cost to you. Our recommendations are based on independent research and testing.
| Product | Price | Rating |
|---|---|---|
| Amazon Basics Single Monitor Arm | $65 | 8.5 |
| Logitech Ergo K860 Wireless Ergonomic Keyboard | $129.99 | 8.8 |
| Logitech MX Vertical Wireless Mouse | $99.99 | 8.6 |
| Topo Anti-Fatigue Mat by Ergodriven | $119 | 9.0 |
| ErgoFoam 2-in-1 Adjustable Footrest | $45 | 8.2 |
Disclosure: PostureRanked is reader-supported. When you buy through links on our site, we may earn an affiliate commission at no extra cost to you. Learn more
Remote workers now average 7.8 hours seated per day in 2026 — nearly a full hour more than their office-based counterparts, according to recent workplace health research. That extra sitting time is showing up as back pain, neck strain, wrist problems, and eye fatigue at a rate that’s pushing ergonomics from “nice to have” into a genuine productivity issue. The difference between a well-configured home workstation and a makeshift kitchen table setup can be the difference between thriving at remote work and grinding through daily discomfort.
This checklist covers every element of an ergonomic home office: seating, monitor height, keyboard placement, lighting, and movement breaks. Work through it section by section and you’ll catch most of the problems that cause chronic pain for desk workers. If you want to go deeper on any area, we’ve linked to detailed roundups throughout.
Quick summary: The two changes that make the biggest immediate difference are getting your monitor at eye level (monitor arm) and switching to an ergonomic keyboard + vertical mouse combo. If you only upgrade two things, make it those.
Part 1: Seating and Chair Setup
Your chair setup is the foundation. Even the best chair fails if adjusted incorrectly — and even a mediocre chair can work reasonably well when dialed in.
✅ Seat Height
Your feet should rest flat on the floor (or on a footrest). When seated with feet flat, your knees should be at roughly 90 degrees and your thighs should be parallel to the floor or angled very slightly downward.
How to set it: Sit down and adjust the seat height until your feet are flat and your thighs are parallel. If your desk is at a fixed height, this is your starting point — everything else adjusts to this.
If your feet dangle even slightly, use a footrest. Dangling feet create pressure behind the knee that cuts off circulation over a few hours. The ErgoFoam 2-in-1 Adjustable Footrest covers this simply: two height positions (3.5 or 5.5 inches) with a breathable mesh cover that won’t make your feet sweat.
✅ Lumbar Support
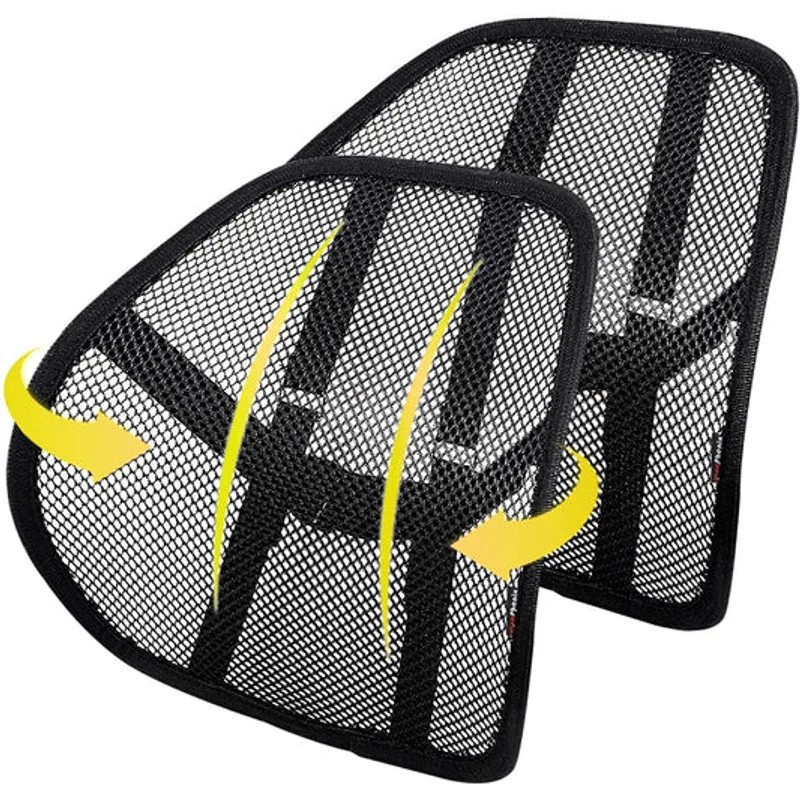
Your lower back should not be fighting to maintain its natural curve. Proper lumbar support should contact the curve of your lower back — not your mid-back, not your upper back.
If your chair has adjustable lumbar, set it so the support sits at the lumbar curve (roughly waist height). If your chair has no lumbar adjustment, a lumbar cushion can substitute. See best lumbar support cushions for add-on options.
✅ Armrest Height
Armrests should support your forearms with your shoulders relaxed — no shrugging, no reaching up. The goal is to offload the weight of your arms from your shoulder and neck muscles.
Set armrests so they lightly support your arms with elbows at roughly 90–100 degrees. If your armrests are too high, they’ll push your shoulders up. Too low and they’re useless. Most people set them too high.
✅ Backrest Recline
You don’t have to sit bolt upright. A slight recline (100–110 degrees between torso and thighs) reduces spinal disc pressure compared to a rigid 90-degree posture. Most quality chairs have recline lock at 100 or 110 degrees — use it.
For full chair recommendations by use case, see:
- Best ergonomic chairs under $500
- Best office chairs for lower back pain
- How to choose an ergonomic chair
Part 2: Monitor Height and Position
The most common home office problem is a monitor that’s too low. Laptop users are especially vulnerable — the built-in screen sits well below eye level, forcing the head forward and down for hours.
✅ Monitor Eye Level
The top third of your screen should align with your eyes when you’re looking straight ahead. Your gaze should be level or very slightly downward — not up, not significantly down.
How to check it: Look straight ahead at your monitor. If you see the bottom half of the screen, it’s too high. If you’re looking down past 15 degrees to see the top of the screen, it’s too low.
A monitor arm solves this permanently. The Amazon Basics arm (Ergotron internals, fraction of the price) mounts to desk edges or grommets, fully adjusts height and tilt, and frees up the desk surface previously occupied by the factory stand. It handles monitors up to 27 inches and 20 lbs.
If you use a laptop as your primary screen, get a separate external monitor and raise it with an arm. Or use a laptop stand to elevate the screen and add an external keyboard and mouse — see best ergonomic laptop accessories for the full setup.
✅ Monitor Distance
Your eyes should be 20–30 inches from the screen. A rough rule: your fingertips should just reach the screen when you extend your arm. Closer than that causes eye strain; farther makes text harder to read and causes neck forward posture to compensate.
For dual monitor setups, see how to set up dual monitors ergonomically for exact angles and primary/secondary positioning.
✅ Screen Glare
No direct light source should be visible as a reflection in your screen. Position your desk perpendicular to windows, not facing or backed against them. If glare can’t be avoided with positioning, an anti-glare filter helps.
Part 3: Keyboard and Mouse Placement
Hand and wrist pain from typing is almost entirely postural. The right equipment in the right position eliminates most of the risk.
✅ Keyboard Height
Your keyboard should be at a height that allows your forearms to be roughly parallel to the floor (or slightly downward) with your shoulders relaxed. Reaching up to type raises your shoulders; reaching down causes wrist extension — both create strain over time.
If your desk is too high for neutral wrist position at chair height, a keyboard tray that mounts under the desk can drop the typing surface a few inches.
✅ Keyboard Tilt: Go Negative
Most keyboards have fold-out legs that tilt the back up. This is wrong. It forces your wrists into extension (bent upward). Flip those legs down. If your keyboard has a negative-tilt option (back lower than the front), use it.
The Logitech Ergo K860 includes a negative-tilt stand specifically for this. Its split curved layout also reduces ulnar deviation — the sideways bend at the wrist that comes from typing on a standard flat keyboard. Paired with an integrated memory foam wrist rest, it addresses the three main typing injury vectors in one product. At $129.99, it’s the most impactful single keyboard upgrade for wrist health at this price.
✅ Mouse Position
Your mouse should be at the same level as your keyboard, directly beside it — not up on a desk surface while your keyboard is on a tray. Reaching out and up for the mouse loads the shoulder.
For mouse shape: a vertical mouse keeps your forearm in a handshake grip rather than prone (palm-down). This reduces the forearm muscle activation that causes repetitive strain injuries over months and years. The Logitech MX Vertical achieves this at the 57-degree angle that studies suggest is optimal. It’s a proper high-performance mouse with a real sensor — not just a shape change.
For wrist pain, the keyboard-and-mouse combination matters as much as either individually. See how to prevent wrist pain from typing for the full guide.
✅ Wrist Position at Rest
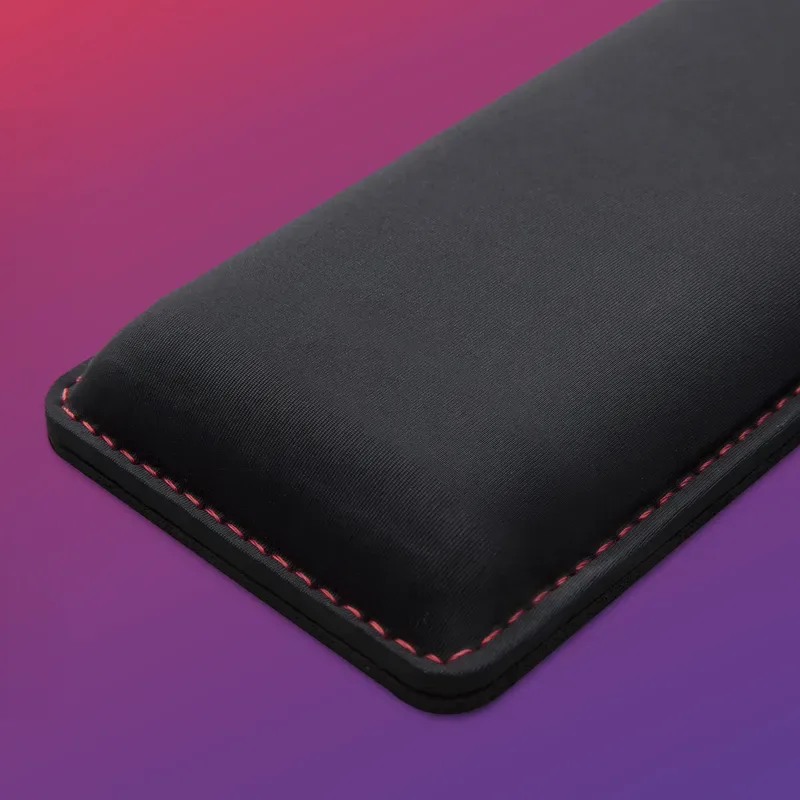
Do not rest your wrists on a wrist rest while typing — wrist rests are for during pauses. Resting while typing pinches the carpal tunnel. Use the wrist rest only when your hands are at rest between bursts of typing.
Part 4: Lighting and Eye Strain
Eye strain is the most underrated remote work complaint. Symptoms — dry eyes, headaches, blurry vision by late afternoon — are almost entirely fixable through lighting.
✅ Ambient Room Lighting
Your workspace should be evenly lit. The problem most home office workers have: a bright screen in a dark room. The contrast between the bright screen and the dark periphery forces your pupils to constantly adjust, exhausting the muscles that control them.
Match the brightness of your room to your screen, or keep your room lit well enough that the screen doesn’t dominate.
✅ No Light Source Behind the Screen
Sitting with a window behind your monitor creates a halo of glare around the screen. Your eyes struggle with the contrast, leading to squinting and strain. Reposition your desk so windows are to the side, not behind the monitor.
✅ Screen Brightness
A screen that’s brighter than its surroundings causes strain; so does one that’s dimmer. Rule of thumb: if your screen looks like a light source in the room (you can see it “glowing”), it’s too bright for the ambient light level.
Most operating systems have night mode (blue light reduction) built in. Enable it for evening hours. See eye strain prevention guide for desk workers for the full treatment.
✅ Monitor Light Bar (Optional Upgrade)
A monitor-top light bar illuminates your desk surface without casting light on the screen. This removes screen glare while giving you enough light to see documents and keyboard. BenQ ScreenBar is the standard recommendation here — see best monitor light bars for gaming for a full comparison including non-gaming options.
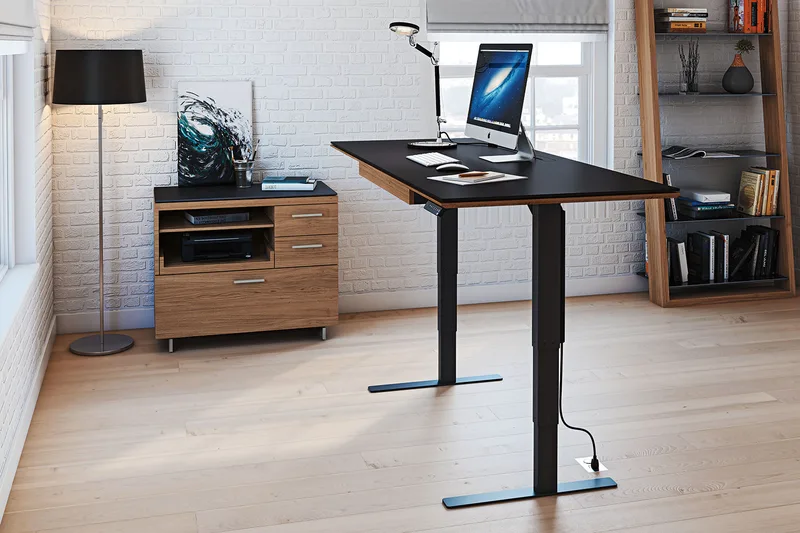
Part 5: Standing Desk Usage and Movement
A standing desk only helps if you actually use it to stand. Most people raise the desk once out of novelty and leave it sitting height permanently.
✅ If You Have a Standing Desk
Follow a sit-stand ratio of roughly 1:1 or 2:1 — for every two hours sitting, stand for one. Don’t stand continuously: standing all day is nearly as problematic as sitting all day. The benefit comes from movement and position changes.
Set two memory presets: sitting height and standing height. Make switching a one-button action so you actually do it.
Standing on a quality anti-fatigue mat dramatically reduces the fatigue that makes people go back to sitting after five minutes. The Topo by Ergodriven has terrain features — a raised center mound and angled foothold — that encourage subtle weight shifts and calf stretches while standing. It’s meaningfully better than flat foam mats for people who stand more than an hour at a time.
For standing desk recommendations at different price points:
✅ If You Don’t Have a Standing Desk
Set a timer to stand and move for 2–5 minutes every 45–60 minutes. A short walk to refill water, a set of quick stretches, or even just standing while taking a call counts. See best stretches for desk workers for a 10-minute daily routine.
Part 6: Break Schedule and Eye Rest
No ergonomic setup fully compensates for prolonged static posture. Breaks are not optional.
✅ 20-20-20 Rule for Eyes
Every 20 minutes, look at something 20 feet away for 20 seconds. This resets the focus muscles in your eyes that lock up from staring at a close screen. Set a recurring timer or use a break reminder app.
✅ Posture Checks
A simple hourly posture check catches drift before it becomes pain. Set a reminder. When it goes off, run through: feet flat, back in contact with lumbar, shoulders relaxed, head over spine (not forward). Correct anything that’s drifted.
✅ Movement Breaks
Stand, walk, or stretch for at least 5 minutes per hour. Back pain and hip flexor tightness from desk work are almost entirely caused by static posture, not the posture itself. Movement is the fix.
Quick-Reference Comparison Table
| Checkpoint | The Fix | Budget Option |
|---|---|---|
| Monitor too low | Monitor arm ($65) | Stack books temporarily |
| Wrists bent while typing | Ergonomic keyboard ($129.99) | Negative tilt adjustment |
| Shoulder strain from mouse | Vertical mouse ($99.99) | Reposition to keyboard level |
| Feet dangling | Footrest ($45) | Footstool or box |
| Standing fatigue | Anti-fatigue mat ($119) | Flat foam mat |
| Eye strain | Room lighting fix | Night mode on OS |
Printable Remote Work Ergonomics Checklist
Use this as a quick-start audit of your workspace:
Seating
- Feet flat on floor or footrest
- Knees at approximately 90 degrees
- Lower back in contact with lumbar support
- Armrests at forearm height — shoulders relaxed
- Slight recline (100–110 degrees) when working long sessions
Monitor
- Top third of screen at eye level
- Screen 20–30 inches from eyes
- No window directly behind monitor
- Brightness matched to room ambient light
Keyboard and Mouse
- Keyboard at forearm-parallel height
- Keyboard tilted flat or negative
- No reaching up or out for mouse
- Wrists straight while typing (not bent up or down)
Lighting
- Room bright enough that screen doesn’t dominate
- No direct light reflecting on screen
- Night mode enabled for evening work
Movement
- Stand or move every 45–60 minutes
- 20-20-20 eye rule active
- Break reminder set
Buying Guide: Where to Prioritize Spending
You don’t need to fix everything at once. Here’s where to spend in order of impact:
Biggest bang for the buck (under $100 each):
- Footrest — if your feet dangle even slightly, a $45 ErgoFoam fixes it immediately
- Monitor arm — gets your screen to correct height, frees desk space ($65)
- Night mode / room lighting adjustments — free, immediate benefit
High impact, $100–$200: 4. Ergonomic keyboard (K860 at $129.99) — wrist health payoff over months and years 5. Vertical mouse (MX Vertical at $99.99) — especially if you have forearm tightness already
Long-term investment: 6. Quality ergonomic chair — the hardest category to cheap out on if you sit 7+ hours daily 7. Standing desk — meaningful health benefit when actually used for movement variation
For a full budget-tiered guide, see home office ergonomics on a budget.
FAQ
How long does it take to see improvement after setting up an ergonomic workspace?
Most people notice reduced fatigue within 1–2 weeks of consistent use of a properly configured setup. Pain relief from existing conditions (wrist strain, lower back pain) typically takes 4–8 weeks of correct posture plus any required exercises. Ergonomics prevents and reduces strain — it does not replace treatment for existing injuries.
Do I need to spend a lot of money on an ergonomic setup?
No. The highest-impact changes are monitor height (fixable with a $65 arm or even books temporarily), keyboard tilt (free — just fold the legs down), and a 5-minute-per-hour movement break. A $45 footrest and $65 monitor arm address two of the most common problems for under $120.
Is a standing desk required for an ergonomic home office?
No. A standing desk is a useful tool for adding position variety, but proper seating position and regular movement breaks achieve most of the same benefit. If you currently sit in good posture and take breaks regularly, a standing desk is an upgrade, not a baseline requirement.
What’s the single biggest ergonomic mistake remote workers make?
Monitor height, nearly universally. Most home office workers run their laptop screen or monitor well below eye level — either because it’s on a low desk, or because they’re using an elevated desk without adjusting their chair. The resulting forward head posture (every inch forward adds ~10 lbs of effective weight on the cervical spine) causes the neck and upper back pain that drives most ergonomic complaints.
How do I know if my chair is adjusted correctly?
Run this check: sit back in the chair with your feet flat on the floor. Your thighs should be roughly parallel to the floor (slightly downward is fine). Your lower back should naturally fall against the lumbar support without you having to press against it. Your armrests should just support your forearms with shoulders completely relaxed — no shrugging. If any of these are off, adjust before anything else.
Should I use a wrist rest while typing?
Not while actively typing. Wrist rests are for resting during pauses — using them while typing bends the wrist back into extension (the wrong direction) and increases carpal tunnel pressure. Rest your wrists only during pauses, and type with your wrists floating neutrally above the keyboard surface.
Conclusion
An ergonomic remote work setup is not about buying the most expensive gear. It’s about correct positions: monitor at eye level, keyboard and mouse at forearm height, feet flat on the floor, and enough movement to prevent static posture from accumulating into injury.
Work through this checklist section by section. Most of the fixes are free or very low cost. The paid upgrades — monitor arm, ergonomic keyboard, vertical mouse, footrest — each solve a specific, common problem and pay for themselves in reduced fatigue and better sustained output.
For deeper dives into individual categories:
- Chairs: How to choose an ergonomic chair
- Standing desks: How to choose a standing desk
- Wrist health: How to prevent wrist pain from typing
- Eye strain: Eye strain prevention guide
- Shoulder pain: Shoulder pain from desk work guide